Friday, January 21, 2011

I've been dancing with my Mojo...

Happy Meter -- yes, you can actually move the arrow to change your happiness. LOL
Took pics with cell phone on this card, as I can't find them on my computer and it's getting way past my bedtime.


Using a new Sizzix die (train set)... Cotton for the smoke. :)


Love taking silk flowers and smearing glue and glitter on them. This one is amazing in real life with the light...


My favorite butterfly image. I went to a get together last weekend and this technique was demo'd. I had done it before (might even have samples on my blog from years ago) but love it so much, decided to play. A used dryer sheet over your stamped and colored image. A bit of glitter and a stunning card IRL.


Formica tile and about 7 layers of UTEE (Ultr Thick Embossing Enamel). It's so smooth, like glass. This is dedicated and going to April -- her hubby is in the military.


Another luggage tag -- this one stamped directly to the tile and added just a little bit of glitter. It's really pretty IRL.


I told you that I love this butterfly stamp -- it's big and my go-to stamp when I need a great nature image.

Me

Wednesday, January 19, 2011

Copy cat...

Every now and then I'll find a card or something that I want to duplicate as close as I can with what I have...

Here is the card I found online... For some reason when I first saw this, it didn't register as a card to me.


And here is my Copy cat version. I actually have mine covering a junk CD. So it's not a card -- I will add a ribbon on the back and the finish the back off with some nice papers. So it will be a piece of wall art. I love how mine turned out and all with what I had on hand.

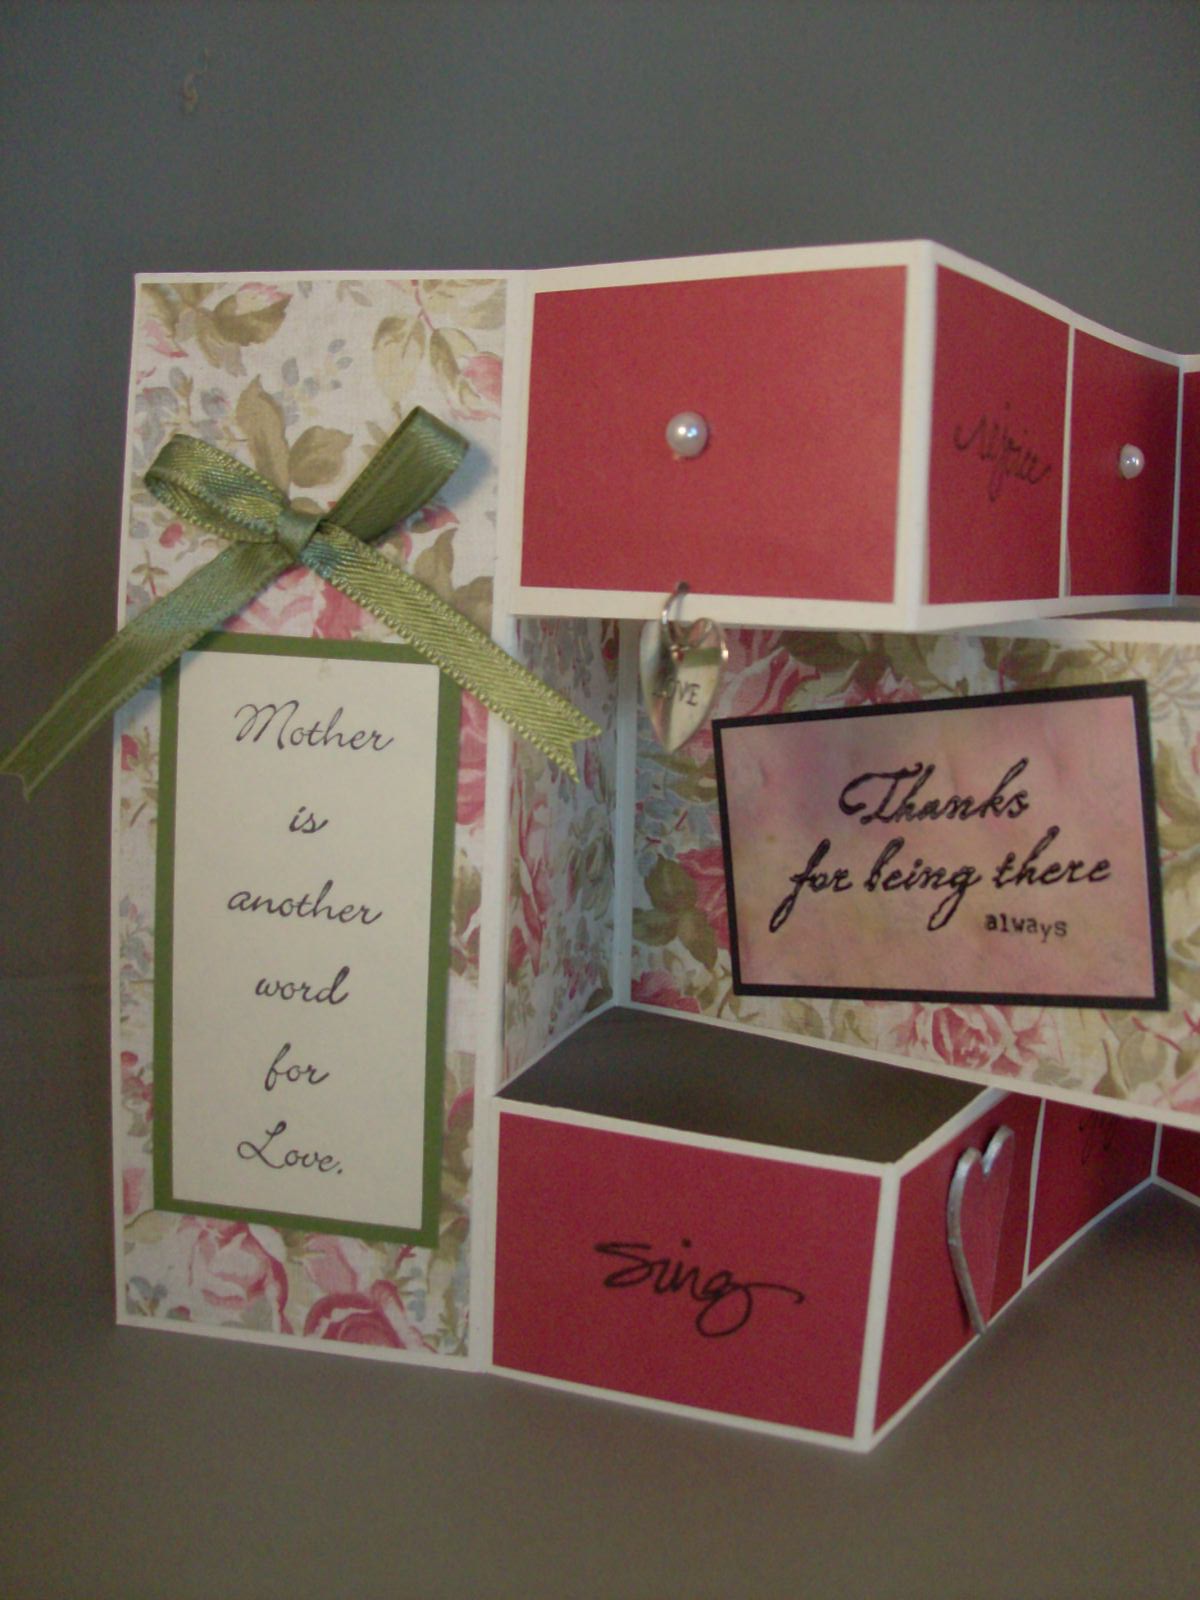
Special card for my mom's birthday

I love how these cards come out but very time consuming... worth it though. My mom loved it and still talks about it being her very favorite card ever. (that's saying something considering this is my 11th year stamping.) :)


Stamped Tile & a few cards

Wooden tile is 6"x6"... Originally made for mosiac, I stamped on it. Painted with Gesso then stamped with Stampscape images. Colored with dye inks and stipple brushes. This will be a gift to someone dear to me. I know she is going to love it as she commented on one that was simular... something about the "I want that!" made it a little obvious I needed to make one just for her.


This is a thanks to my mom card and love the flower punch that is 3-D.


Sweet little dragonfly...


This is a card I did for a Topper Swap I was in. Not my norm to have a large topper on the card but it was nice to work outside of my box.


Birthday card for hubby's cousin, TR. He was moving back to Florida from up north, so I wanted to remind him of the beach! The images are stamped on white cs and then a piece of vellum is over them to make it misty...

Ribbon oh my!

Do I have ribbon? I think I have more then most stores.... But how I was storing stopped working for me a few years ago. I just didn't know what to do about it. I posted the question on how others store their ribbon and the one idea that clicked with me the best was what I went with. (Thanks Terry!) :)

Not only did I have too much ribbon to actually get to all of it, but it was getting really dusty AND my cat, as lovely as she is, decided she liked to unravel it and gnaw on the ends -- sometimes chewing on up to ten inches of my ribbons. A waste and pretty gross actually. I had a piece of ribbon on the floor once, about 4 inches of it and she ATE it. I kept an eye on her and she passed it okay but c'mon... eat my ribbon? It's not like she isn't well fed with goverment approved cat food.

How long did it take you ask? To unwind all of the ribbon off their spools, rewind it all around my fingers and put into baggies, punch holes in the baggies and sort them on the rings.... it took 9 hours over the course of two days, 210 baggies and
9 book binding rings. Oh, and about 5 doses of 800mg of Motrin. Really.

This is my before. I had them on tension rods in the corner of my office -- wedged between my last cabinet and the wall. Pure craziness!


This is with all but three tension rods removed. This would be a great way to store a little bit of ribbon... this did work for me for a while.


This is one of three 13 gallon garbage cans that got filled with the spools once I removed all of the ribbon.


And here are my afters... Ahhhh, feel the calm. They are individually bagged up in ziplock baggies. Punched a hole at the top of each bag and put them thru large book binding rings. Each ring holds one color of all different shades. One ring holds my black, white, creams and brown ribbons, since they didn't need their own per say.


Close up of just a few of the colors...


And they all fit in two large Iris drawers (actually 1 and a 1/2 drawers so there is room for even more ribbon. :) Away from dust, dirt, and my cat. Sorry Ruby.


Wednesday, October 20, 2010

Sympathy cards x 4

Unfortunately, I had to make four sympathy cards yesterday to mail off today...

This first one is on the way to my Father In Law -- his Daddy passed away on Friday morning.


This one is going to my FIL's mom for the loss of her husband.


I love the colors on this and the leaves... This one is going to Renee, the cat she shared with her (ex) husband when they were married. She was a white Persian who was 18 years old.


And to John (and their son Joshua) for the death of their cat, Terah.

Tuesday, September 14, 2010

Pumpkin painted lampshade

A pencil lamp shade pumpkin -- Here is the before... Saw Melody's post on Facebook and had to try it since I thought about trashing this lampshade in the garbage...
Melody's post on this: YOU CAN CLICK HERE TO SEE HERS


pencil lamp shade pumpkin -- after. Cute and easy!

Friday, September 10, 2010

For 9-11-2001... I remember...

I cannot believe it's nine years...

I saw a card posted on a friend's Facebook wall and knew I had to try and recreate it. It's pretty close although her's had a "We won't forget" saying and I only have the "remember" stamp. It works though.

Bethany doing some "projects"

Beth loves to do "projects" in my office... with me or along side of me/ I had bought the foam dragonfly kit a few weeks ago and put it aside for just the right time... That time was tonight. She loved it. And it turned out great. When it's all dry tomorrow, we will hot glue a magnet to the back so we can use every day on the fridge.


And nothing like some good ol' fashioned cut and paste... Some construction paper, markers, glue stick and she is having so much fun (and making a big mess but that's okay).

Been busy stamping... just not posting (until now!)

There's been a lot of talk on a stamping group I belong to about using a sewing machine for stitching/paper piercing on cards. So I dug mine out of the back of the cabinet, put in four new batteries and created this card.


Bought a pack of these images and had to try Flower Soft for the first time... I have a bunch of different colors but wasn't inspired until this afternoon.


Paper Birdhouse

It's been a while since my last post but I've been creating quite a bit. All of my Christmas cards have been done for a while now...

And after a few trials and errors... I finally got it! This paper birdhouse stands 3 inches tall and 2 inches wide and deep. Thanks to Tamarra C for emailing me and answering some questions I had on this.

Wednesday, May 26, 2010

Published in an Interactive Cards magazine!

There was a call out to artists and the card had to be Interactive... moveable some how.

I submitted three and two of them got published! This magazine is fabulous in that it shows 25 cards using 9 different techniques. And shows step by step instructions on how to create each card!

Printed by AnniesAttic.com or click *HERE*

The magazine and what the cover looks like:


My "Heard you caught a bug" card made it to the Table of Contents too for the Sliders chapter!!!


Left side of page:


Right side of page:


Left side of page for this card:


And the right side of the page: